I did some figure-drawing today, but mostly I worked to increase my Photoshop know-how.
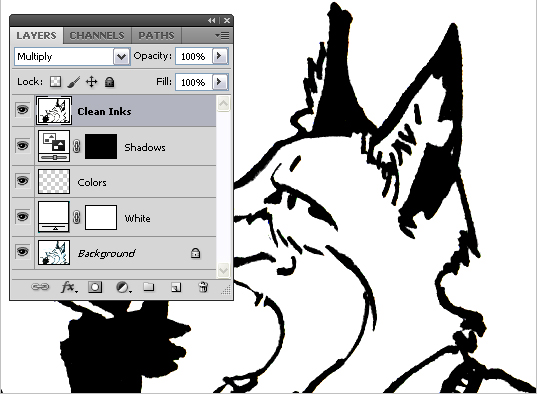
I learned how to write Photoshop actions. For a first go at it, I wrote an action that takes artwork from its scanned state (inks over non-repro blue lines) to a state where it’s ready to be colored and shaded. The action sets up an Adjustment>Invert layer that is otherwise empty. Painting on that layer, I’m able to block in shadows that counter whatever the local color is–without ever having to manually change the color of my brush. That’s exciting to me, because I’m kind of a stickler for color theory.
The process
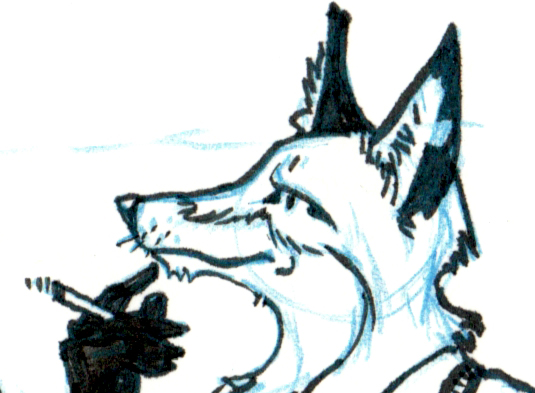
1. Scanned page:
2. Here’s the action that will automatically set up all the layers I need:

3. Ta-da!
4. Then I can color in flats:

5. And use the Invert layer to create shadow tones:

I’m just a beginner, so maybe I’m beaming with pride over something elementary. And I know there are a ton of Photoshop actions out there. Artists host them on DeviantArt for example. Hopefully this is just the beginning for me.
Leave a Reply